Complete List of Saturation Plugins: Everything You Need To Bring Analog Warmth To Your Music (125+ Unique Saturation VSTs!)
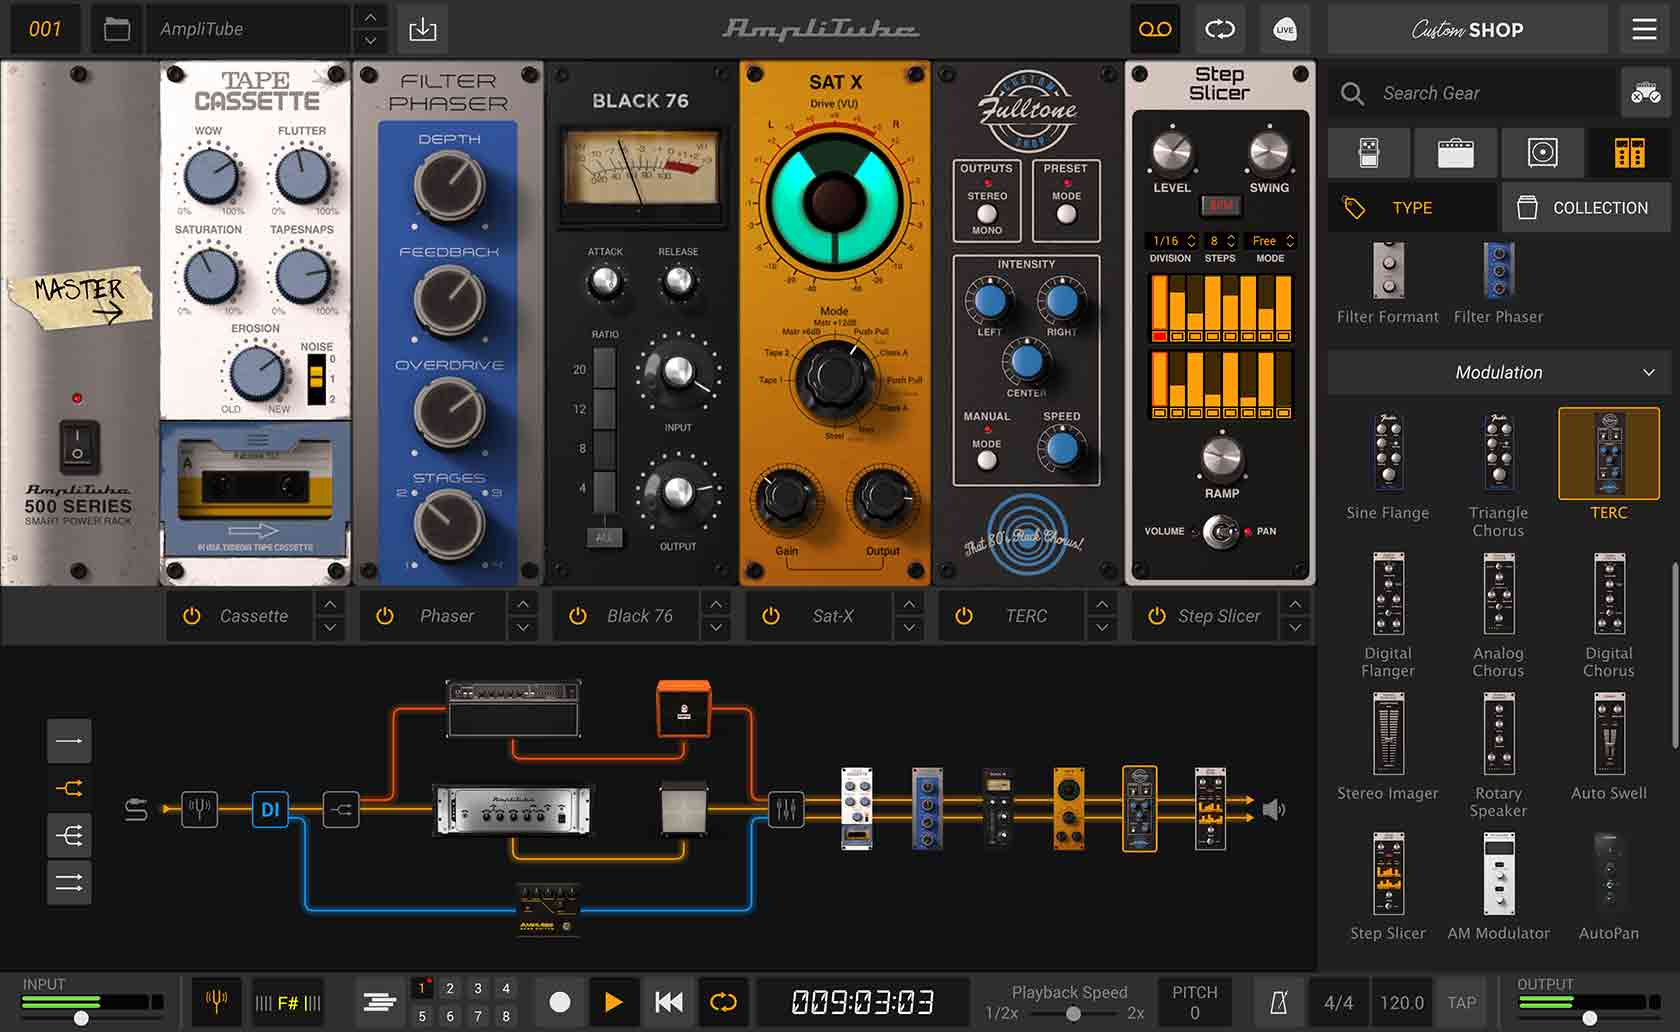
Amplitube vs Guitar Rig – a detailed comparison November 30, 2020For any guitarist looking for an amp sim, the question of ‘Amplitube VS Guitar Rig’ inevitably will arise. ...DAWsEffectsFeaturedMusic appsMusic SoftwareProductivityReviewsSound Design·0 Comments·9 mins read·14165 views
Laptop specs for music production November 3, 2020While the versatility and gear of actual studios are appealing, many people simply can’t afford $500/hour sessions and...Productivity·0 Comments·5 mins read·125 views
Best Android Music Making Apps October 24, 2020A couple of decades back all the gear that music producers had at their disposal was a measly...Music SoftwareProductivitySequencers and Midi·0 Comments·5 mins read·118 views
Best Prime Day 2020 Music Promotion Deals October 12, 2020It’s (kind of) finally here- The shopping season is upon us and as always, retailers are starting off...DAWsDealsDrum MachinesDrumsEffectsHardware SequencersHardware SynthsLoops and SamplesMusic HardwareMusic SoftwareNewsOutboard ProcessingProductivitySequencers and MidiSoft Synths·0 Comments·2 mins read·82 views
How Much are Musicians Making from their Deals? Introducing the Record Deal Simulator September 30, 2020The music production twitter world woke up with a bang, as createsafe‘s latest app took the social media...Music EducationNewsProductivity·0 Comments·1 min read·33 views
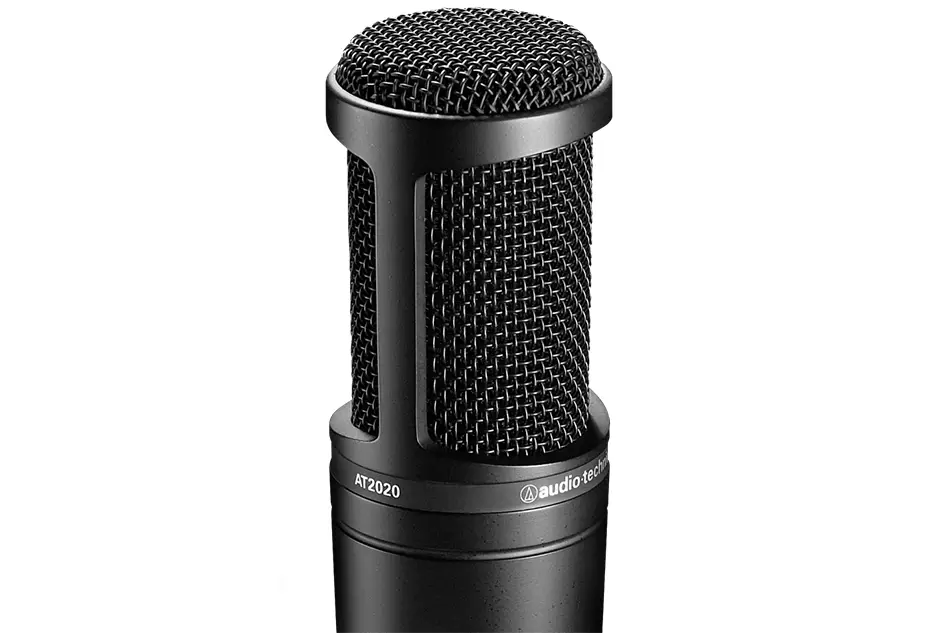
Audiotechnica AT2020 vs AT2035 September 25, 2020It’s not uncommon for a world-class brand to release several models in the same series that serve different...Music HardwareProductivityReviews·0 Comments·8 mins read·153 views
What are the Easiest Instruments to Learn? September 3, 2020Learning a new instrument can be an intuitive way to become a better artist, improve muscle memory, and...Music EducationMusic HardwareProductivity·0 Comments·11 mins read·120 views
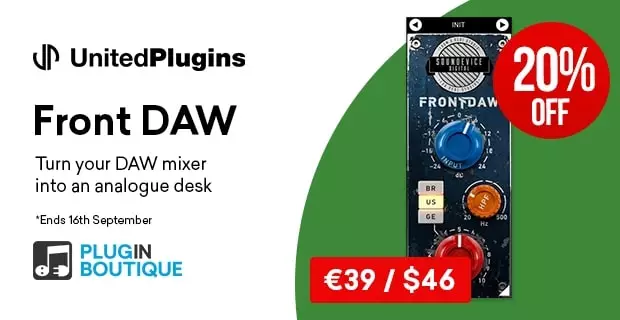
United Plugins Front DAW Sale August 30, 2020Turn your DAW mixer into an analogue desk with Front DAW from United Plugins. Save 20% off and buy now for only €39 / $46. Read More...DAWsDealsMusic appsMusic SoftwareNewsProductivity·0 Comments·1 min read
Best Online Mastering Service August 5, 2020Welcome to our article on the BEST Online Mastering Service! Mastering and mixing an audio track is a...DealsEffectsFeaturedMusic SoftwareProductivityReviewsSound Design·0 Comments·17 mins read·3962 views
Best Audio Interfaces in 2020 July 30, 2020As a music producer, songwriter, musician, or audio designer, an audio interface is a virtual workshop that can...Music HardwareProductivityReviews·0 Comments·11 mins read·305 views